Writing your own NES emulator Part 1 - overview
How to write your own NES emulator - overview
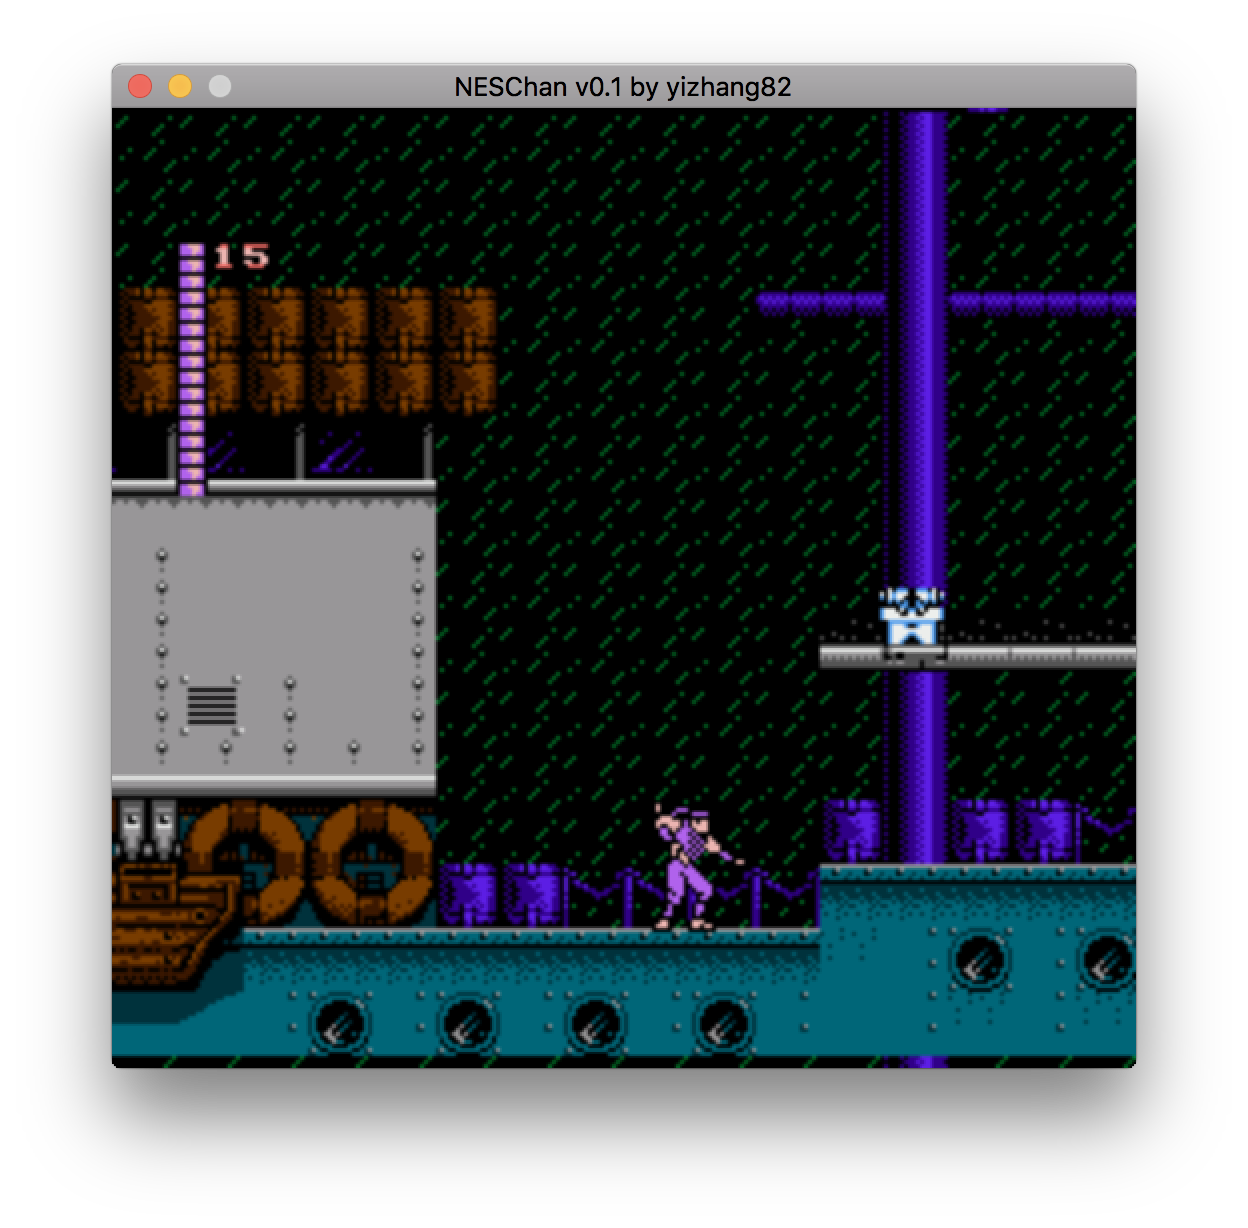
I’ve recently wrote a NES Emulator NesChan. I had a lot of fun building this emulator and is planning to write a series of post documenting my experience and maybe help anyone who also want to write one. This is the first post.
Many people growing up in the 80s probably have fond memory of playing 8-bit NES games - those games are surprisingly fun (and many of them challenging). Those 8-bit style games are also making a come back in indie games such as Shovel Knight and Stardew Valley.
This post is intended as a high-level overview of what it would take to write a NES emulator so that if you are interested to write your own you’d be prepared to know what is involved, or simply just to understand some of the interesting problems involved in writing one. More detailed technical writeup of emulating different components would come later as separate posts.
NES Hardware Capabilities
Being a 8-bit system in 80s, it has hilariously limited spec comparing to today’s standard:
8-bit 6502 CPU running at 1.79 MHZ. It has 3 general purpose register A/X/Y, and 3 special register P (status) /SP (stack pointer) /PC (program counter, or instruction pointer), all of them being 8-bit except PC which is 16-bit.
16-bit addressable memory space. In theory it can address 64K memory however it only has 2KB onboard RAM. Rest is either not wired up (and are mirrors of those 2KB), or mapped to special I/O registers, or catridge ROM/RAM space.
PPU (Picture Processing Unit) supporting rendering 256x240 screen composed of 8x8 tiles for background, up to 64 8x8 or 8x16 sprites for moving objects. It supports pixel-level scrolling (which is a big deal back in that day).
APU (Audio Processing Unit) supporting 2 pulse channel, 1 triangle channel, 1 noise channel, and 1 DMC (delta modulation) channel. One can still make good music with these - just not great sound effects.
Controllers - from classic NES controller to NES mouse.
Catridge boards (and mappers) - there are many different kinds of game catridge boards. They come with game data as ROMsm, sometimes their own battery-backed RAM, or some cases, their own audio processing unit. Most importantly, they also come with special hardware, refered to as mappers, that dynamically maps ROM/RAM into CPU and PPU memory space, bypassing the limitation of 16-bit address space. Some game catridge come with more than 256KB of CHR ROM and swap/map portion of it on demand.
Before your start
Assuming you haven’t done NES programming on a real NES hardware before, there are a bundance of material that covers NES hardware behavior.
You need to have a good understanding of following topics:
- CPU - instructions, addressing modes, registers and status flags, interrupts
- PPU - PPU registers, pattern table, name table, sprites, rendering pipeline, and scrolling
- APU - APU registers, and how to generate square/triangle waves.
- iNES format - most games are in this format.
- Controller - controller register
- Mappers - how mappers controls memory mapping. Different mappers have different capabilities.
It took me about a week and half to add CPU, PPU, and a few mappers in order to get some of the major commercial games to work perfectly (Super Contra, Super Mario Bros, Shadow of the Ninja, etc). If you want to support most of the games out there, prepare for a lot of work (implementing mappers and debugging). But most of those work are incremental and you can decide to stop at any time.
Which language/framework to pick
Language choice probably doesn’t matter that much. People have written NES emulators using all kinds of languages - C/C++, JavaScript, Go, C#, etc. Just pick your favorite language and go. It’s a 8-bit processor, so emulation performance on today’s powerful machines is usually not an issue. Just don’t go crazy creating new objects and trigger GC, if you are using a language that has one.
Do find a good library for your language that supports rendering 2D graphics, controllers, and audio. You can choose a cross-platform one, or work with the OS specific libraries.
For me I decided to go with C++, and SDL for rendering/input/audio. This has nice benefit that everything is cross-platform by default.
The core game engine is its own library and is agnostic about which framework your choose, and the main app uses SDL to provide the rendering/input/audio capabilities and can be swapped to use whatever technology/framework that is appropriate for the platform. For example, you can use a JavaScript framework in the browser to interact with the C++ game engine, and do the rendering / input entirely in the browser.
Have a plan
Before you actually go write the emulator, it’ll be good to have a plan of attack - which component to emulate first and what to test, etc. It’s definitely not a good idea to run Super Mario Bro as your first test.
This is the plan I went with.
1. Start from CPU first. And make sure it’s really solid.
Duh. You can’t do anything without CPU. Just go implement the instructions and the main loop - stick to the official instructions first. There are very few games use unofficial/undocumented instructions.
2. Add NES rom support (and mapper 0)
Why add ROM support before you can actually render anything to screen? You want to use test roms to make sure your CPU simulation is really good and squash bugs as early as possible. This will save you a ton of time.
Trust me - you don’t want to find your CPU bugs in real games. And you’ll als catch your own regressions. Many ROMs would automatically write a success/fail code at a well known location - this can be your check/asserts, depending on what test framework you use.
And eventually you’d want to load some games, right? :)
If you find that some test ROM need unofficial instructions, add them as needed.
3. Then go implement your PPU.
This is probably going to be fairly involved if not challenging. Even for experienced programmers, the PPU rendering pipeline takes quite a bit of time to wrap one’s head around. Due to memory constraints, the rendering tiles/sprites is completely 8x8 tile (block) based, and the way those tiles are represented in memory takes a bit getting used too (bitplanes, etc), and implementing the precise rendering pipeline has a lot of details.
Don’t worry about rendering to screen yet. Just observe your VRAM and see with your inner eye to imagine.
Don’t add scroll. That should be the next step.
Now you can add the rendering and the main game loop. Make sure your game loop process as the exact cycle as the real hardware by doing some math over elapsed tick count and CPU MHZ.
4. Go try some simple games
Try some games that don’t scroll and use mapper 0. Donkey Kong/Popeye/balloon fight are solid choices. You want to focus on those simple ones before you attempt your favorite games.
5. Add scrolling
Scrolling is tricky because you need to locate the exact pixel within 8x8 tile, and you’ll also render one more tile if the X scroll isn’t a factor of 8. Go read the scrolling doc and make sure all the interaction between PPU register, PPUADDR and scrolling parameters are done exactly right.
6. Test a scrolling game
Ice Climber is a great choice for Y scroll. Horizontal scrolling games are trickier and should be tested in step 7.
7. Try out Super Mario Bros.
Once quite a few simple mapper 0 game work great, now it’s time to take your emulator to a real test. Super Mario Bros isn’t particularly tricky, but is quite demanding that your emulator should have a fairly complete CPU and PPU emulation with reasonable accuracy.
8. Add APU support
I haven’t finished this one personally. Will update once I got it working. To get this to work you need to understand square waves, triangle waves, etc. Audio programming was black magic to me but I’m starting to get it.
9. Add more mappers (MMC1, MMC3, etc)
More mappers = more games. In general the first few mappers are great candidates as it is supported by most games.
10. Try a real tricky game to emulate
Battletoads, if you are up for a challenge. Or there are more to choose from.
11. Add fancy features
At this point, you should have many games working. Now you can decide what matter most to your emulator - there are a lot of things you can do now:
- Add a debugger support
- Add load/save state
- Add reverse/forward
- Add cheating support
- Add more games and fix games
- Add more test roms
- …
When things go wrong
This is when things get really interesting (and frustrating).
There are a few strategies that I found really helpful:
Use logs - your emulator should support writing diagnostic logs - including CPU instructions getting executed, what cycle is it at, scanline start/end, whether there is an interrupt, etc. In many cases comparing logs with your emulator and some other emulator would immediately identify the problem with CPU bugs, timing issues, freezes.
Compare with a excellent NES emulator with great debugger support. Mesen’s excellent debugger makes debugging much easier. Debugging the code and observe what it does, compare the cycles, looking at memory, and tile/sprites data in PPU. This is extremely helpful.
If you have time, build your own debugger for your emulator. If you can directly see the contents of your sprites/background tiles represented in your own debugger window, you can easily see whether the problem is happening - is it a rendering bug (the data is correct), or the data simply isn’t there (most likely timing issue, CPU bug, or mappper bug).
All in all,dDebugging is pretty painful, so avoid it if you can. This means having really good tests using the test roms and automate them. So that you can know if you made a regression after every build.
What’s next
In my next post, I’m going to talk about how a emulator works when it comes up emulating multiple parallel executing hardware components. After that we’ll dive into details of how to emulate CPU/PPU, with real working code.
You can find my emulator here in github - neschan.
The series so far…
If you are hungry for more NES…
Head to NESDev Wiki - I’ve learned pretty much everything about NES there. There is also a great book on NES called I am error, which is surprisingly deeply technical for a book about history of NES.